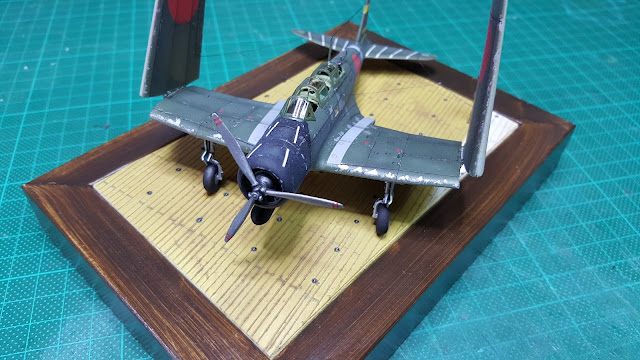
Here 's the second and final part. I have a confession to make: my attempt at replicating the middle section of the tie-downs did not go as well as expected. First I was a bit heavy-handed with the application of liquid cement, so most of the sprue either dissolved or did not level up with the deck. I should have probably scribed a tiny grove first, THEN glue the sprue in it, in order to bring it to a satisfactory height. Mmmh, I'm not making much sense here, please take a look at the picture...
Ah yeah, right, I didn't take any, since I didn't feel going through the whole exercise again. Anyway, I ended up reworking my tie-downs from the top, by gluing tiny bits of sprue in the holes. At least the previously glued sprue provided some kind of support to the tiny bas..ards... Surprisingly, it did not take me much than 30 minutes to complete that chore. Here's the final product, with tie-down painted black, higlighted with medium gray, and a generous wash of burnt umber oil paint.
1) Mr Airfix has provided microscopic attachment points, and I found it almost impossible to get a solid bonding. Plus, I forgot to place the support masts Airfix provided... So if you build it, don't be an idiot when you can watch one at work on this very page.
2) I spent quite some time detailing the cockpit and wanted to be able to display my work.... (Poppycock: I used Eduard's zoom photo etched set, that went on in approximatively 30 minutes... Thanks Mr Eduard!)
In case you wonder, the little fellow who appears to have stomach cramps is a (rather ugly) Preiser German WW2 pilot with the head of one of the pilots Airfix provides with the kit.
Here are some more photos:
So that's it, I hope you enjoyed reading this post as much as I enjoyed... playing Uncharted IV.
Happy Modelling!
Treflon


No comments:
Post a Comment